
We recently had a need to inspect the contents of an HTTPS (SSL/TLS) connection. As we had never had the opportunity to set things up to facilitate decryption of SSL/TLS connection we had to do a little bit of research.
The way we approached this was by running the software that establishes the HTTPS connection we need to decrypt on a VirtualBox Virtual Machine (VM), and then running a Man-in-the-Middle (MitM) proxy on the VM host, which runs Ubuntu 15.04. The MitM proxy that we used was mitmproxy. No reason in particular for choosing mitmproxy other than it was the first solution that we tried, it was very well documented, and it worked on first try. We are very impressed with this little piece of software — its design is well thought, and the text-based user interface is very powerful.
This post documents the steps involved in setting things up for decryption of SSL sessions.
General
There are several possible network topologies to use. The one that we chose was one where the client machine and the proxy machine are on the same physical network. Because we are using VirtualBox, where the Virtual Machine is the client machine and the Virtual Machine host is a physical machine, we configured the network settings of the (client) Virtual Machine to use bridged networking. This is equivalent to having two different machines on the same physical network segment.
Note: Our proxy machine (not a Virtual Machine) only had a wi-fi network interface so the Virtual Machine, through bridged networking, was using this wi-fi network interface to reach the network.
Set Up Of Proxy Machine
Installation
Nothing much to do here, really, as there is an Ubuntu binary package for mitmproxy, so installation boils down to a simple “apt-get install mitmproxy”.
VirtualBox Settings
The network interface of the virtual machine must be configured in bridged mode. The VM host machine only needs one interface (for example, the wireless NIC “wlan0”). That interface will be used for both the VM host and the actual VM to have network connectivity. Make sure the VM NIC is configured to use the VM host NIC as the bridge interface.
Also, VirtualBox must be configured to allow promiscuous mode on the bridge interface. This is configured in the “Advanced” section of the network adapter properties (where the interface mode [bridged, NAT, etc.] is configured). “Allow VMs” for the “Promiscuous Mode” setting is appropriate.
Configuration
After installing the mitmproxy software, the following things must be done:
- Enable IP forwarding, which is normally disabled by default:
shell$ sudo sh -c 'echo 1 > /proc/sys/net/ipv4/ip_forward'
- Disable ICMP redirects:
shell$ sudo sh -c 'echo 0 > /proc/sys/net/ipv4/conf/all/send_redirects'
shell$ sudo sh -c 'echo 0 > /proc/sys/net/ipv4/conf/wlan0/send_redirects'
- Add iptables rules to redirect traffic going to destination TCP port 443 to port 8080, which is where mitmproxy is listening on:
shell$ sudo iptables -t nat -A PREROUTING -i wlan0 -p tcp --dport 80 -j REDIRECT --to-port 8080
shell$ sudo iptables -t nat -A PREROUTING -i wlan0 -p tcp --dport 443 -j REDIRECT --to-port 8080
- Run mitmproxy:
shell$ mitmproxy -T --host
Setup Of Client Machine
The following things need to be configured on the client machine:
- Configure the machine running mitmproxy (the proxy machine) as the default gateway. This will cause all SSL/TLS traffic going towards the server to be sent through the proxy machine, assuming that the server is on a different (remote) subnet.
- Install the Certificate Authority certificate that the proxy machine will present to the client when the client establishes SSL/TLS sessions. mitmproxy really shines in this area, making the certificate installation a very seamless process. We will not repeat here the excellent documentation on how to do this. Instead, we will point readers to the documentation: http://mitmproxy.org/doc/certinstall.html.
- The default gateway of the client machine must obviously be the proxy machine. The easiest way to accomplish this is by configuring manually the TCP/IP settings of the client machine. If DHCP is used for IP configuration then the default gateway will be whatever the DHCP sends, which might be different from the IP address of the proxy machine. In that case the client machine can be forced to use the proxy machine as its default gateway by adding a new default route using a lower metric, for example: ip route add default via <IP address of proxy machine> metric 50.
Decrypting The SSL/TLS Session
Once the machine running the mitmproxy software (the “proxy” machine) and the machine running the SSL/TLS client (the “client” machine) are configured, we are ready to establish the SSL/TLS sessions that we want to decrypt — just open your browser and go to the https:// URL you are interested in examining, launch your SSL VPN client, etc.
The proxy machine will intercept the connection and do what it does well, i.e. pretend to the server to be the client, and pretend to the client to be the server, while decrypting traffic going in both directions.
mitmproxy provides a fantastic text-based user interface that allows the user to easily navigate through each SSL/TLS request and response going through the proxy.
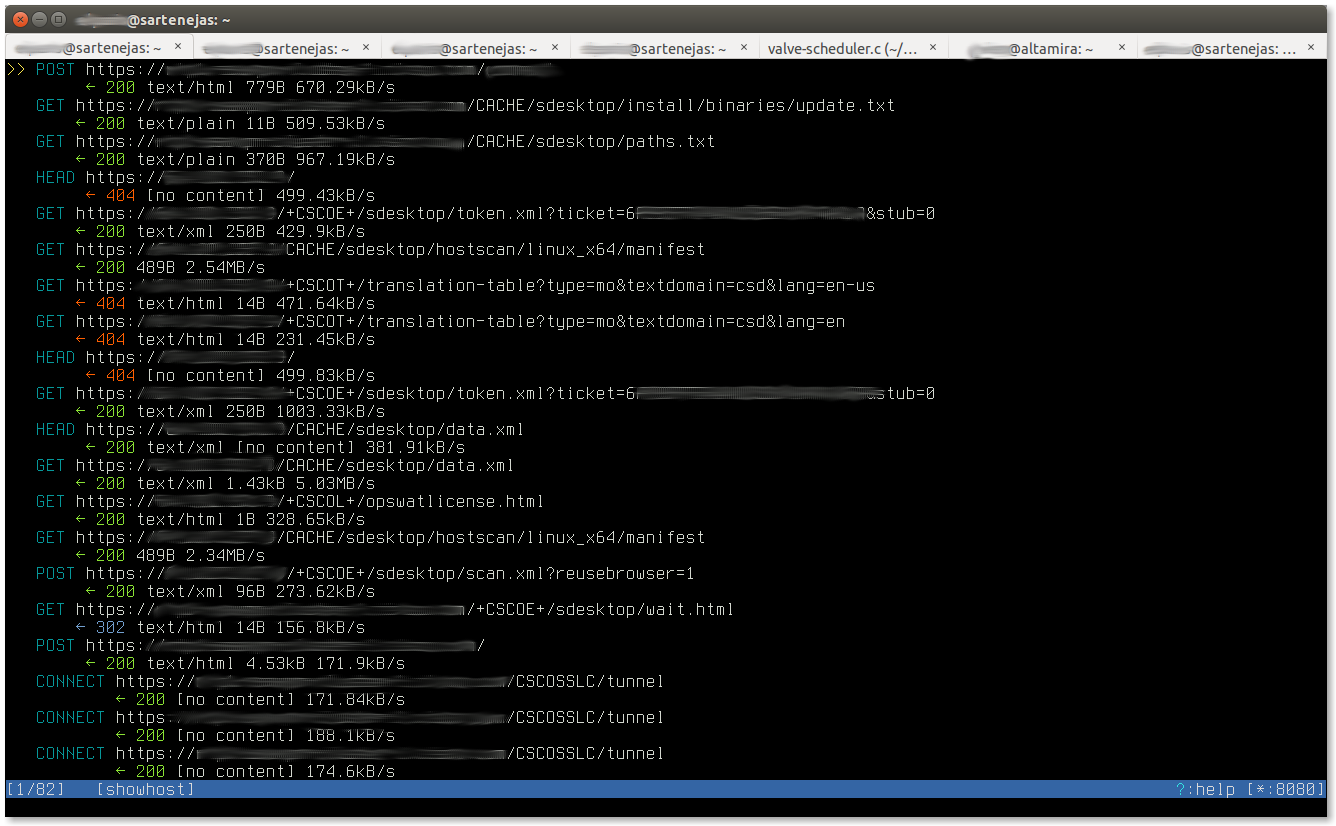
The following screenshot (click on image for larger version) shows the main mitmproxy window, which lists all the captured flows:
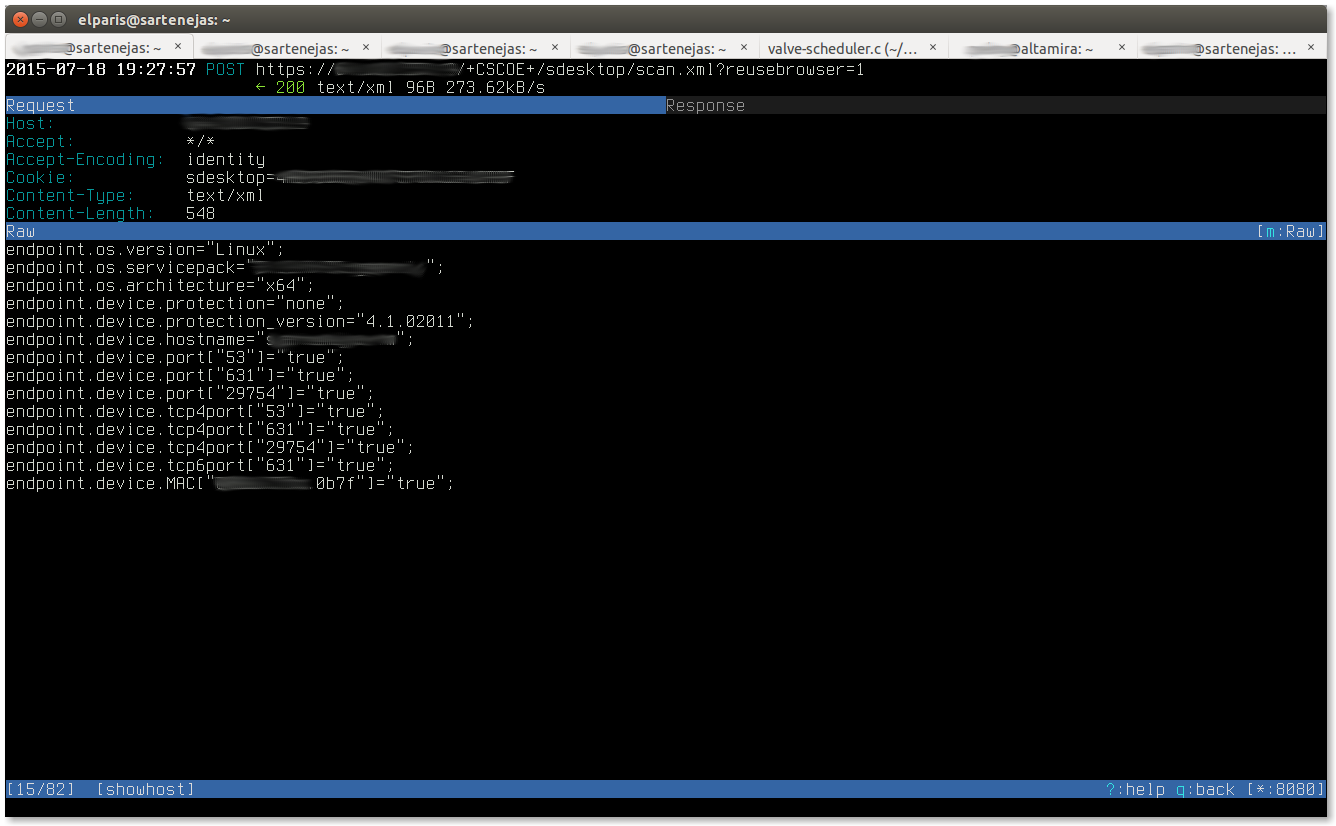
The following screenshot (click on image for larger version) shows a particular flow, especifically the request part of the flow:
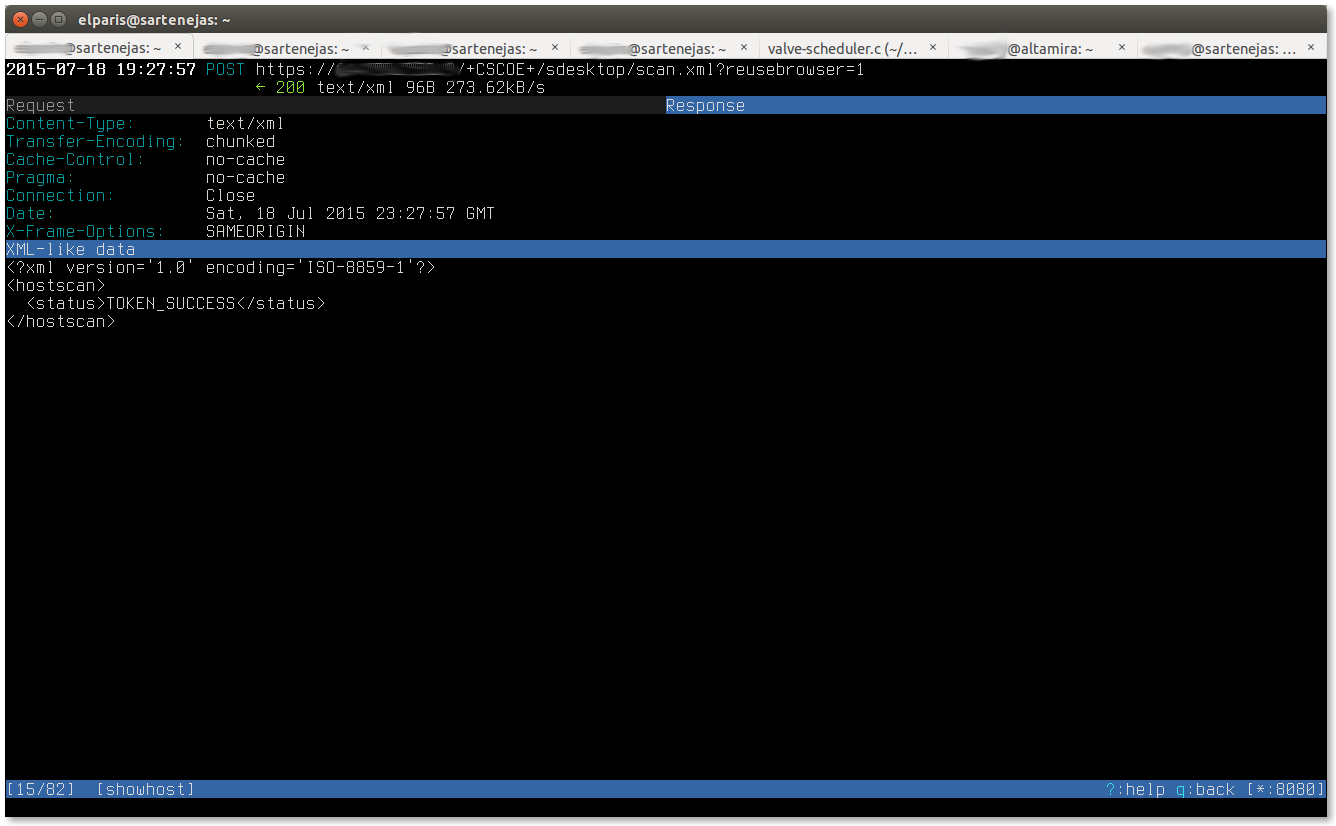
And finally, this screenshot (click on image for larger version) shows the server’s response to the previous request:
And that is it; there really isn’t anything to it. It took longer to read the mitmproxy documentation than to set things up and run the SSL/TLS session.
Final Thoughts
From the main mitmproxy window, all flows can be saved to a file for later analysis by pressing the ‘w’ (write) key, which will prompt if all flows must be saved or just the one at the cursor, and the name of the file to save the flows to.
Flows can be loaded later by running mitmproxy with the -r (read) switch.
Caveats
Be aware of mitmproxy bug 659 (https://github.com/mitmproxy/mitmproxy/issues/659). This bug causes HTTP HEAD requests to return a Content-Length equal to zero instead of the correct value. This will cause some applications to fail as they will think there is nothing to download. This trip me up pretty good until I found the previously mentioned bug and I applied the fix that was committed to resolve the bug.